It has recently become possible with Azure AD role-assignable groups (in addition to assigning an Azure AD role to a user) to be able to assign roles to an Azure AD group. This allows you to keep an overview because you no longer have to make assignments at the user level and can provide an entire team with this role. The role assignment can be either direct or with the help of privileged identity management. To make this possible, several steps are required, which I will explain below.
Group creation
In order to assign roles to groups, it is necessary that the “IsAssignableToRole” property of the group is set to TRUE. Unfortunately, it is not possible due to security constraints to configure an existing group with this. Therefore, you will have to create a new group for this.
Portal
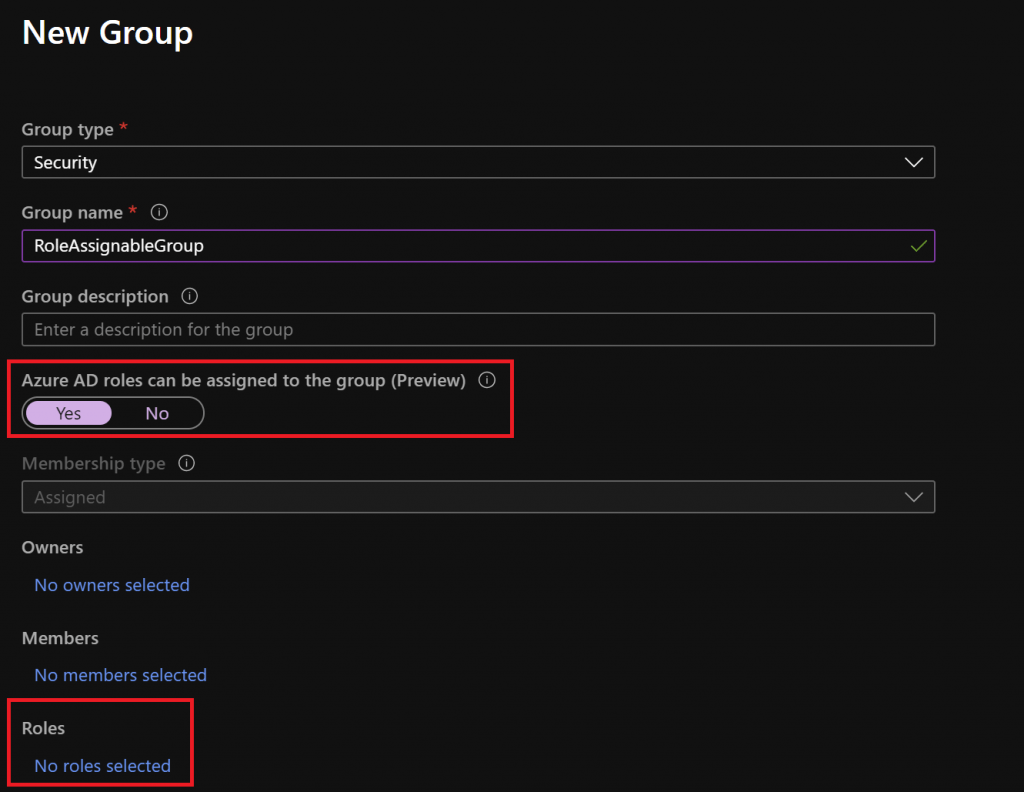
Create a group like you normally do (Azure Active Directory> Groups> New Group).
Here you will see (if you have the correct rights: Privileged Role Administrators and Global Administrators) also the setting “Azure AD roles can be assigned to the group”. To be able to assign roles you have to set this to “Yes”. Immediately afterwards you will see that an option has been added at the bottom of the list with which you can directly start assigning a role. You can also do this later.
Give the group a name, description and select the members and / or owners for the group. You can also immediately assign a role. Then click on “create”.
Powershell
At the time of writing, the functionality to create groups to which a role can be assigned is only available in the preview module of AzureAD. If you haven’t installed it yet, you can do this using the following command
install-module azureadpreview
After this you load the module with
import-module azureadpreview
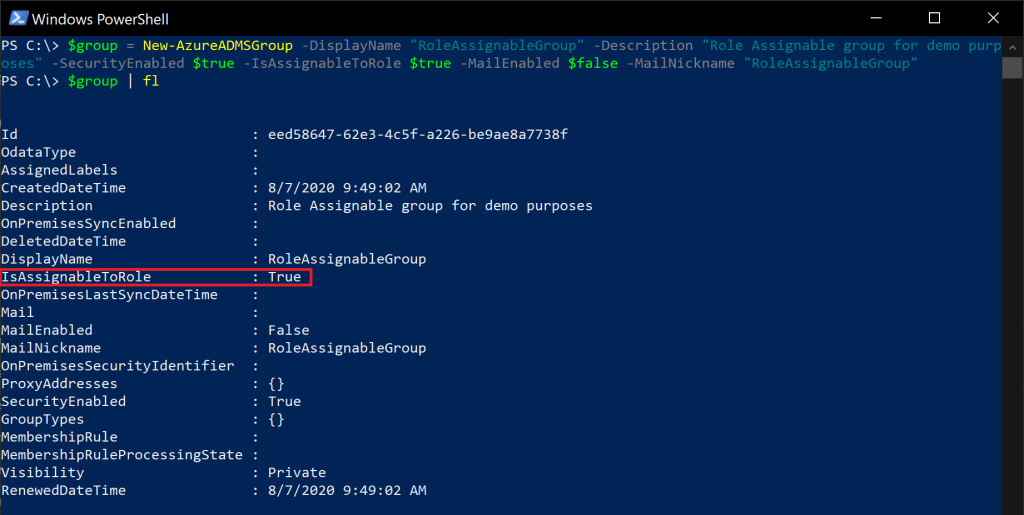
To create the group you need the “New-AzureADMSGroup” CMDlet and you need to set the “IsAssignableToRole” parameter to $ true. To create the group this way it is also required that you provide it with a “MailNickname”, even if you do not use the “MailEnabled” option.
For example:
$group = New-AzureADMSGroup -DisplayName "RoleAssignableGroup" -Description "Role Assignable group for demo purposes" -SecurityEnabled $true -IsAssignableToRole $true -MailEnabled $false -MailNickname "RoleAssignableGroup"
Assigning Azure AD Roles
After you have created a suitable group, you can add an Azure AD role to it.
You can do this in several ways: From the Azure Active Directory or Privileged Identity Management interface.
Azure Active Directory
There are two options to assign a role to a group from Azure Active Directory:
From the perspective of the role ór the group.
Group Perspective
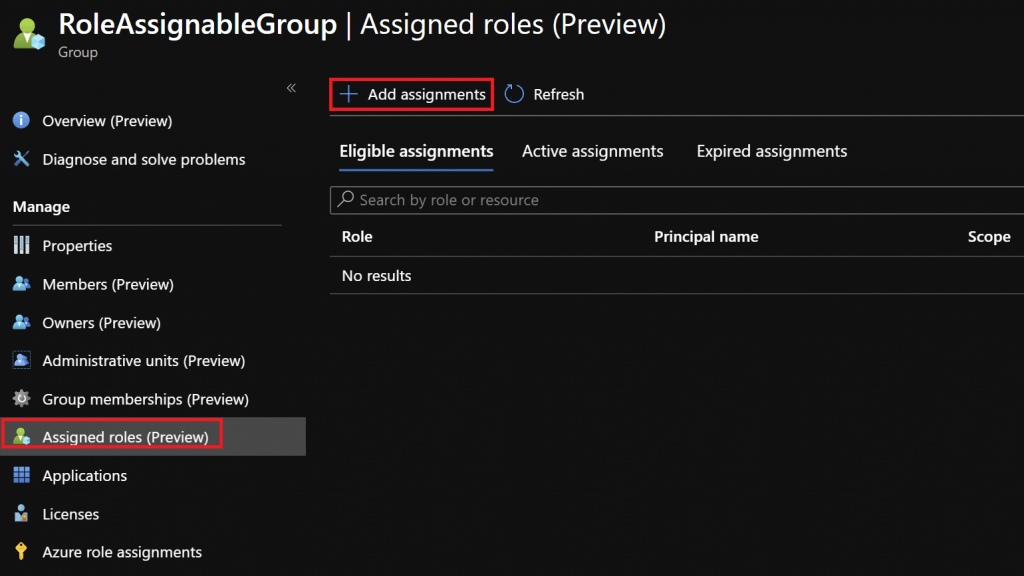
Open the group to which you want to assign a role (Azure Active Directory> Groups> Group Name) and select “Assigned roles” on the left.
Here you can see an overview of the role assignments to this group that is comparable to the interface you may already know from Privileged Identity Management.
Just like in Privileged Identity Management, you have the option of making a permanent assignment that is always active. Or choose an eligible assignment which you must activate at the time of use.
Click on “Add assignments”.
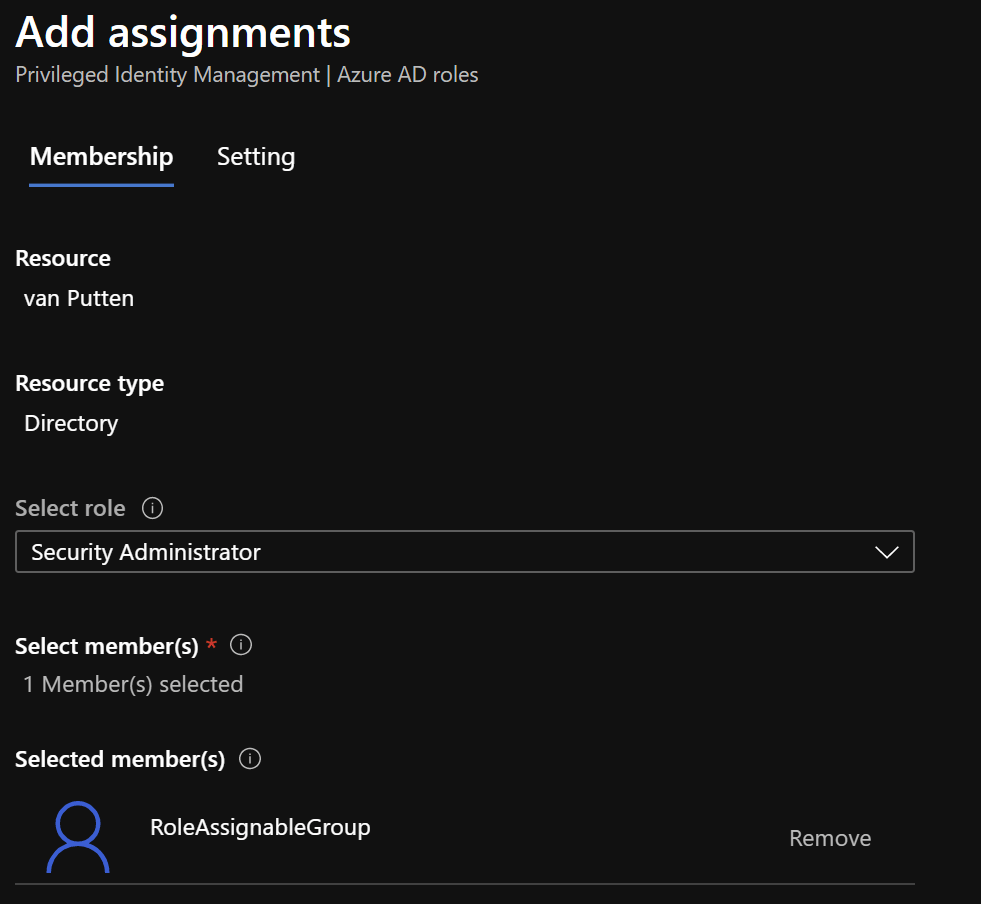
In the newly opened window, select under “Select role” the desired role that you want to assign to the group.
Click on “Next”.
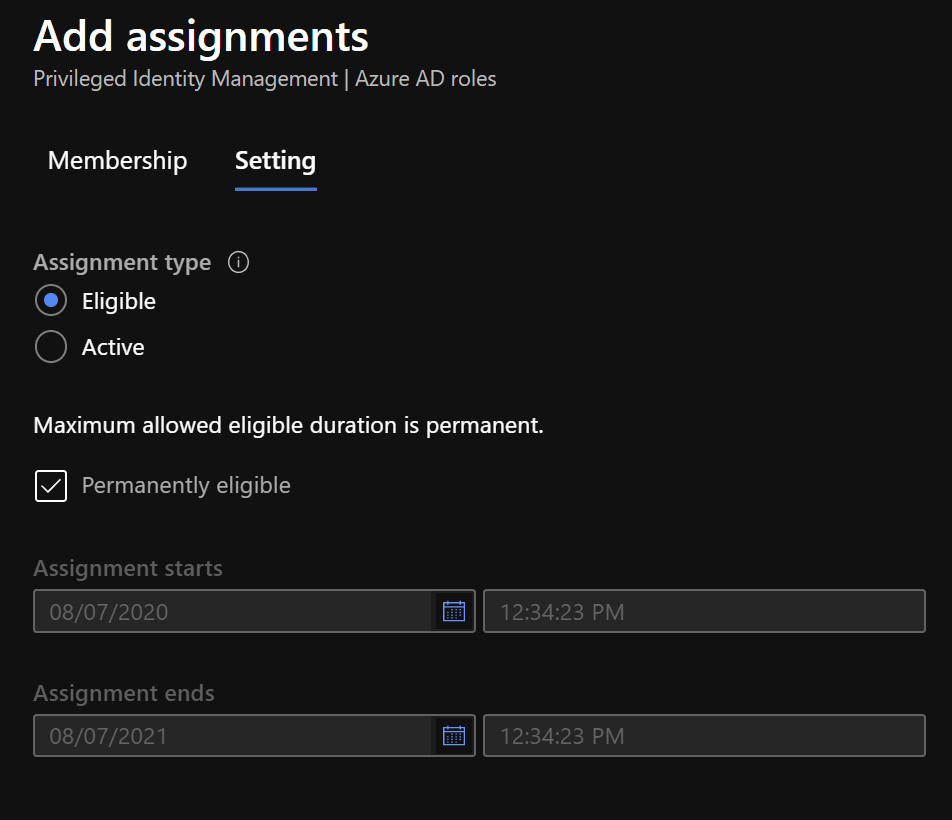
Set the desired assignment type (Eligible / Active) and optionally its duration.
Then click on “Assign”
Role Perspective
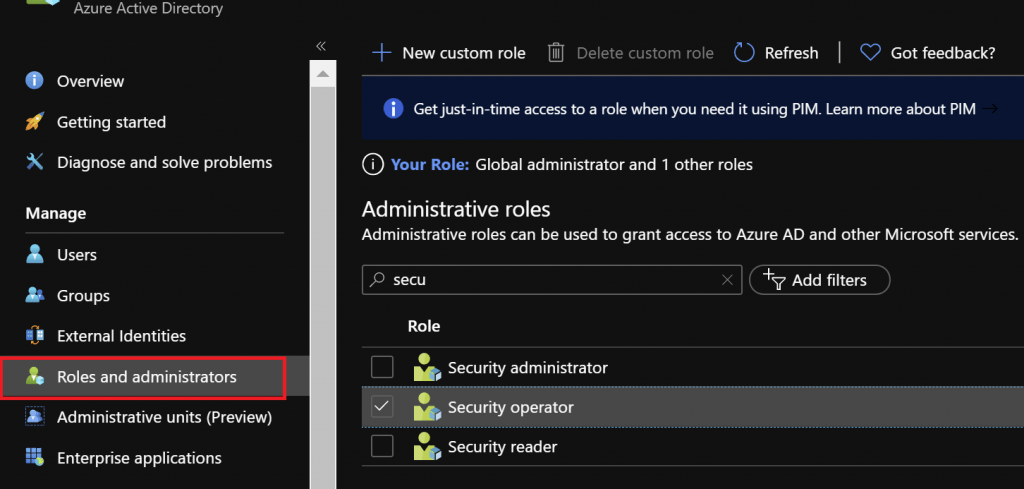
Open the role you want to assign to (Azure Active Directory> Roles and administrators> RoleName).
Here too you can see the overview of the assignments of this role, which is comparable to the interface of Privileged Identity Management.
Click on “Add assignments”.
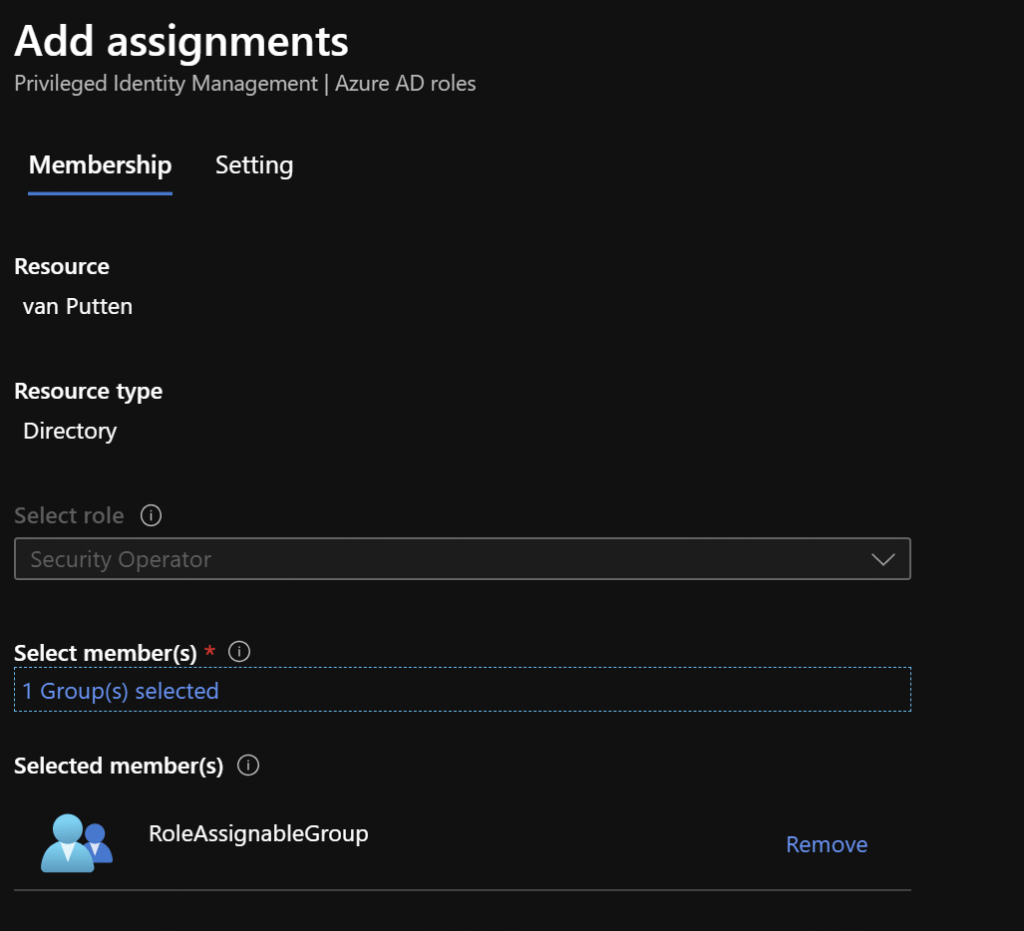
In the newly opened window, in contrast to the assignment, you will see from the group perspective that the role has already been filled in for you and you only have to select the group to which you want to assign this role.
Select the group you created earlier in this article under “Select member (s)”.
Click on “Next”.
Set the desired assignment type (Eligible / Active) and optionally its duration.
Then click on “Assign”
Privileged Identity Management
As indicated earlier, you can also make an Azure AD role assignment from the Privileged Identity Management interface.
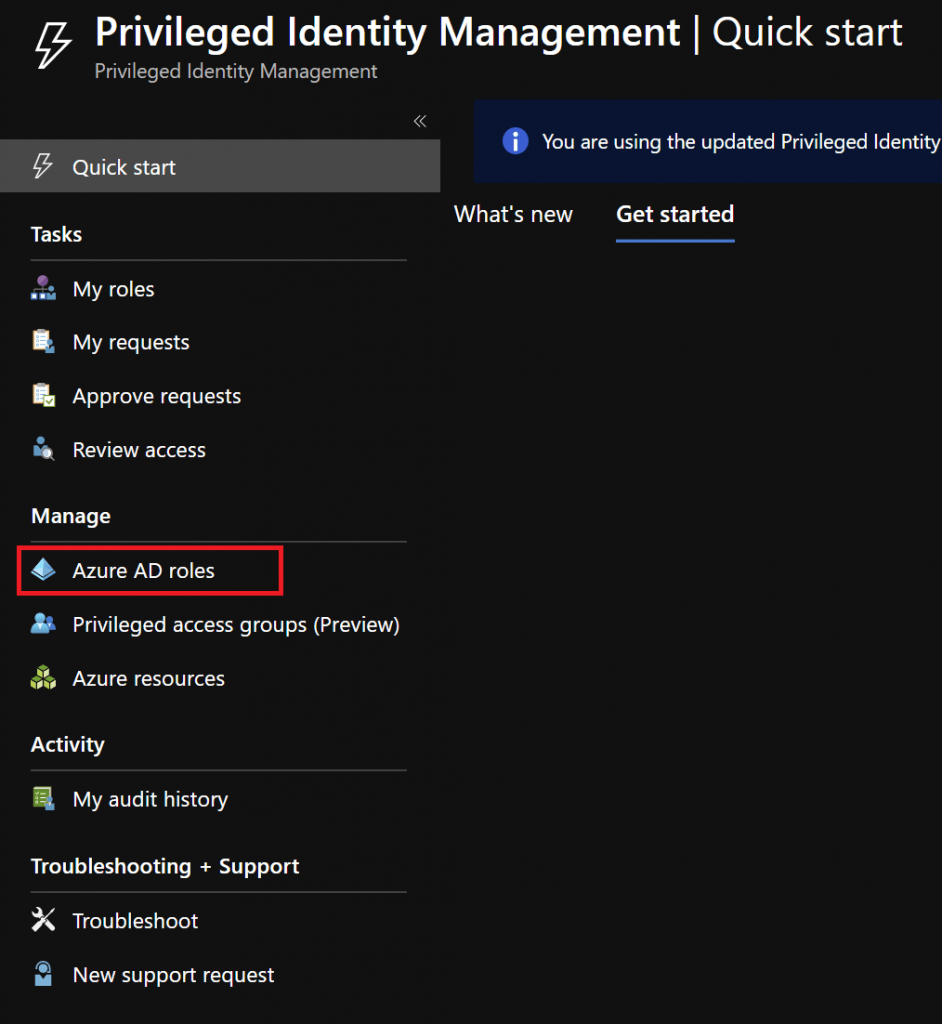
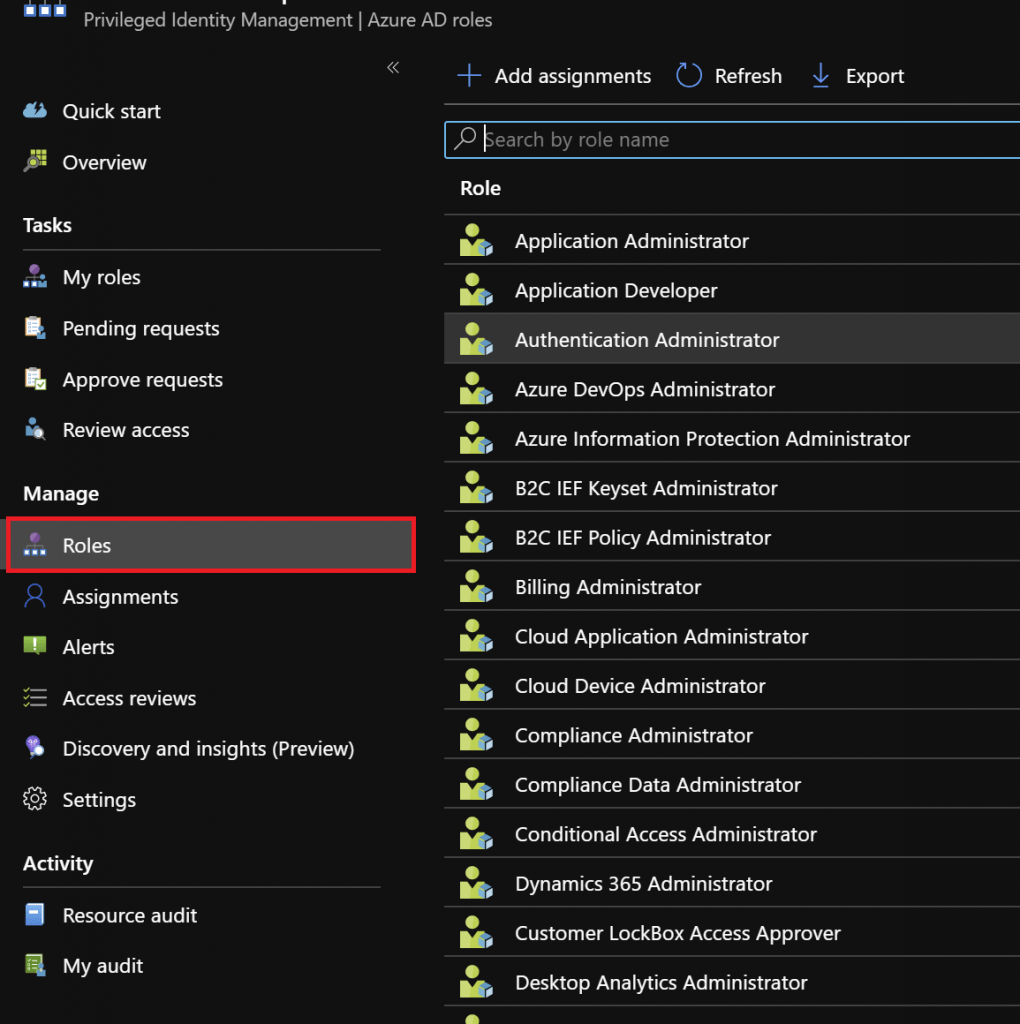
Open the role you want to assign to (Privileged Identity Management> Azure AD roles> Roles> RoleName).
Click on “Add assignments”.
From this point on, the steps are identical to the role perspective assignment from the Azure Active Directory interface from the previous chapter.